Introduction
The ACR122U-A9 NFC reader is a handy device for M1 card operations. While it works seamlessly on Windows, setting it up on Linux requires some extra configuration. This guide walks you through installing and using the device on Linux Mint 19.1 Cinnamon (similar steps apply to other distributions).
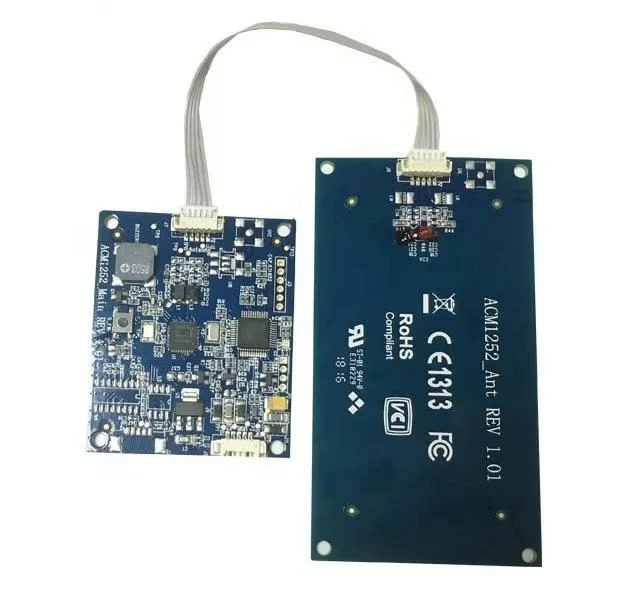
Device Overview
The ACR122U-A9 supports reading and writing M1 cards (such as public transportation cards). However, sector 0 block 0 may or may not be writable depending on the card type.
1. Setting Up the Environment
Driver Configuration
Linux has built-in drivers, but to avoid conflicts, modify the configuration file:
bashsudo vi /etc/modprobe.d/blacklist.conf
Add the following lines at the end:
bash install nfc /bin/false
install pn533 /bin/false
Reboot your system for the changes to take effect.

Installing Required Software
Run the following command to install necessary packages:
bash sudo apt install libnfc-bin libnfc-dev
To verify if the device is recognized:
bash nfc-list
If the device is successfully connected, the green LED will light up.
Installing mfoc
mfoc is used for extracting the M1 card’s key. If you’re using Kali Linux, it may already be installed. Otherwise, compile it from source:
bashgit clone https://github.com/nfc-tools/mfoc.git
cd mfoc
autoreconf -is
./configure
make && sudo make install
If you encounter configure: error: libnfc >= 1.7.0 is mandatory, ensure libnfc-dev is installed. If the issue persists, it might be due to an outdated software version.
Optional Software
Some tutorials recommend installing pcscd, pcsc-tools, and libacsccid1. However, testing shows that the device can function without them.
2. Reading & Writing M1 Cards
Understanding M1 Card Types
- Writable Sector 0 Block 0 – Can be fully cloned.
- Non-writable Sector 0 Block 0 – Can only copy non-system data.
Reading an M1 Card
- Connect the device and place the card on it (the green LED should light up).
- Extract the card key and dump data: bash
mfoc -O 1.dump - Modify or view the data using
hexedit: bashhexedit 1.dump- Exit:
Ctrl + C - Save:
Ctrl + X
- Exit:
Writing to an M1 Card
To write data back to a card:
bash nfc-mfclassic w b 1.dump
w– Write mode.b– Uses B-type password for authentication.
This writes all data except sector 0 block 0.
Cloning an M1 Card
If sector 0 block 0 is writable, you can fully duplicate a card:
bash nfc-mfclassic W b 1.dump
W– Writes sector 0 (if supported).- If the card doesn’t allow writing to sector 0, an error occurs.
Conclusion
By following this guide, you can configure and use the ACR122U-A9 NFC reader for M1 card operations on Linux. While this setup allows for basic reading and writing, further functionalities can be explored via additional NFC tools and commands.